Wednesday, June 8, 2011

"I'm a Dinosaur..."

Apparently crazy only takes me a couple days.  Then again, my husband has been playing King Crimson...so, when I start talking gibberish, blame it on the music.


UPDATE:
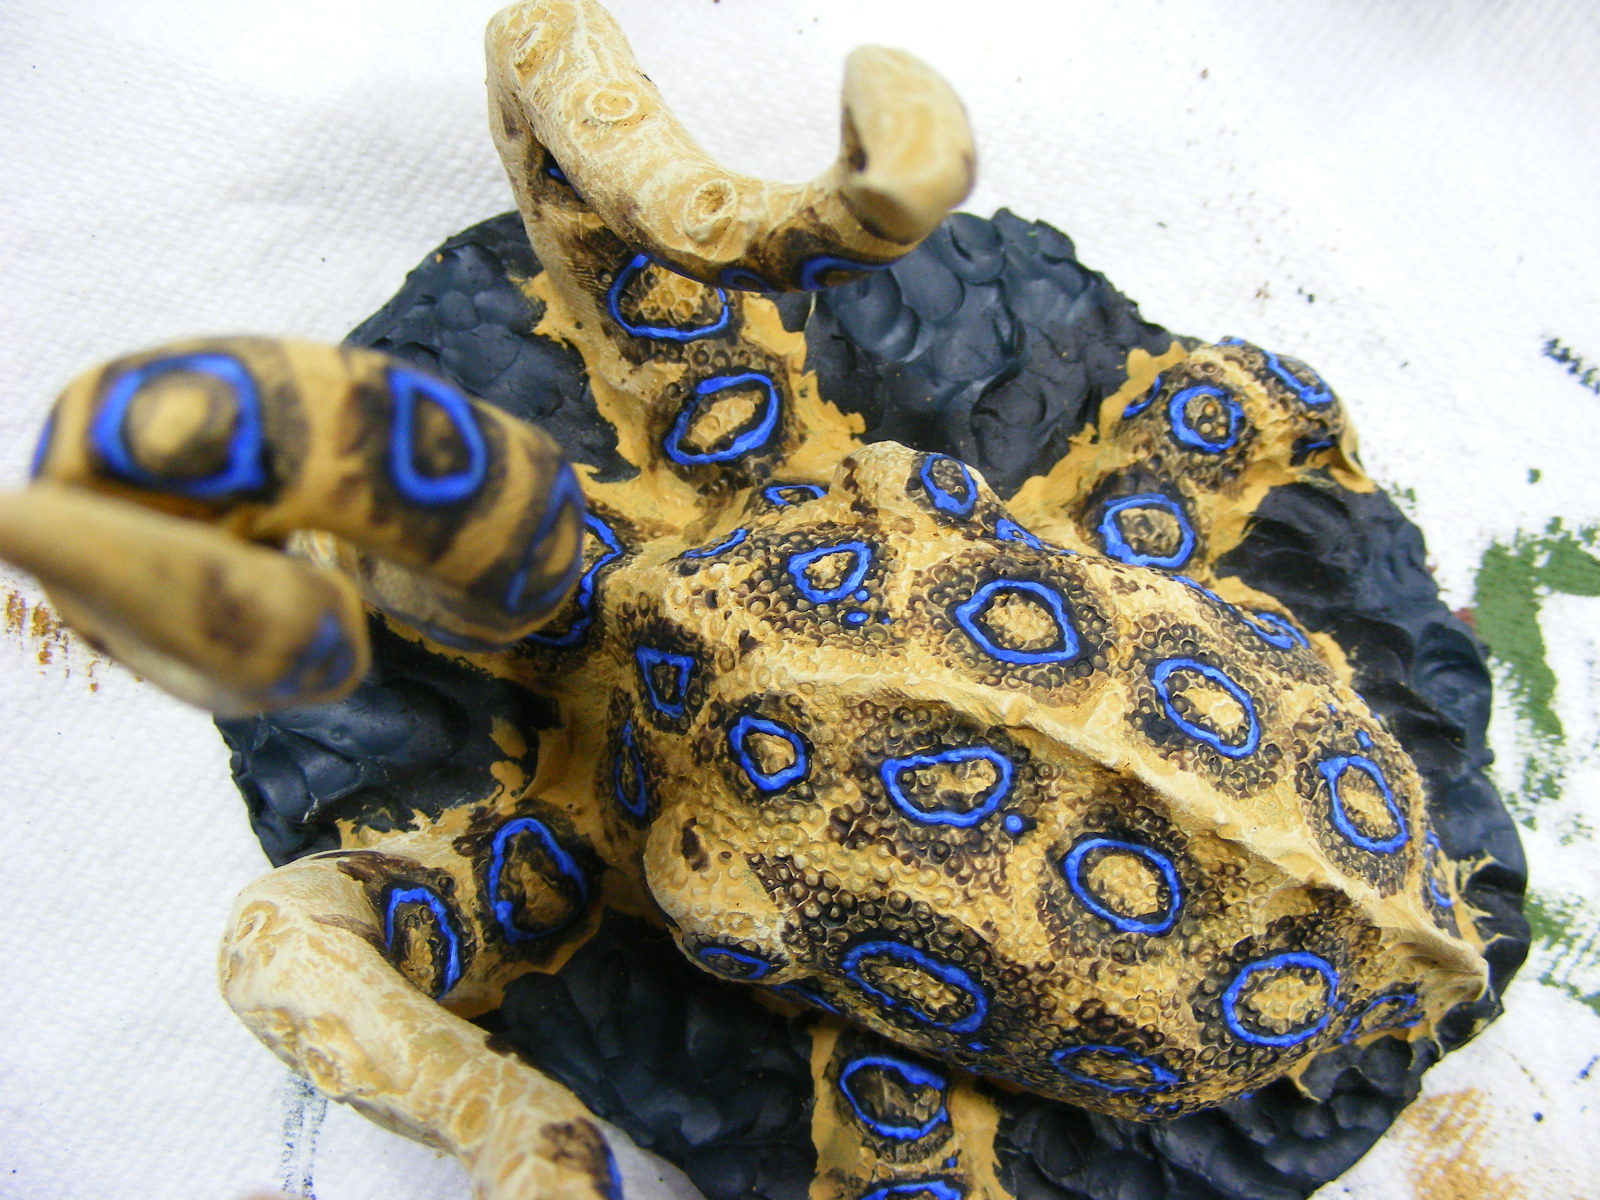
I knew I couldn't just let it go.  I think I spent half the night tossing and turning about how I wanted to change it.  In the end, I did modify the blue-ringed octopus, a little.  I added Golden Yellow highlights in order to boost the neon color effect.  It does make the blue rings pop a bit more, so I'm pleased.
I took the Cel-Vinyl Golden Yellow and "spotted" the entire piece with a 10/0 brush.  Sounds time consuming?  It kinda is but I think it was worth it.


Then, on to the brontosaurus and t-rex set.

 This is the brontosaurus.  Obviously dead.  I was working quickly and forgot to take step-by-step photos.  Oops.  However, here are the colors in order of use:

 
For The Brontosaurus
  • Upper Skin: 
    1. (CV) Olive Green - base-coat.
    2. Olive Drab 13 - heavy dry-brush.
    3. Olive Drab 13 mixed with Golden Yellow 50/50.  Light dry-brush just on the spine and down the legs a little.  Then, add a little water to dilute and run it along the spine and into the cracks of the skin.
  • Belly: 
    1. (CV) Ocher - heavy dry-brush.
    2. Ocher 11 - light dry-brush.
    3. Tan 6 - very light wet brush.  Then, dilute with water a bit and use it like a watercolor to go into the cracks of skin.  This brings all three colors together a bit, blends it and makes it seem uniform.
  • Gore: (Reaper) 
    1. Antique Rose - base color for innards.
    2. Porcelain Pink - high light.
    3. wash of Baal Red.  Some of the innards are various other pinks and purples and reds to vary up the organs.  But, they all get washed the same color to bring all the colors together.
  • Blood: Model Color
    1. Red - dry-brush this on where the wounds meet the flesh and drag away from the wound in a spray like pattern.  Make it messy. 
    2. Baal Red wash - same effect, drag away from wound and kind of slop it around.  Don't be too precise because it will look oddly perfect.  Slop it on.


 DINOSAUR HUMOR

"I'm a dinosaur...somebody is digging my bones..."

"I'm hungry.  Mom, what's for lunch?"
"I'm gonna need a toothpick after this one."
"Delicious!"

"Burrp!"


 The T-Rex Coloration
  • Upper Skin: 
    1. Mud Gray - basecoat
    2. Mud Gray 11 - heavy dry-brush all over.
    3. Brown - diluted with water until it is about the coloration of a watercolor paint.  Then, drag over the spine and be kinda splotchy.  Next, drag down into the main body to create stripes of sorts; over the hind leg thighs and the upper arms.  Also, make strips down tail and toward the neck.  This will look like a jagged tooth effect down the side of the model.
    4. Devlan Mud wash for spots - on the very very top of spine.  You can add spots down the body as well.


  • Belly Skin:
    1. Mud Gray 11- dilute with water.  Go over belly area and down backs of legs to bottom of feet. 
    2. Tan 6 - first dry-brush on over the gray 11 area.  Then, dilute with water also and do only the very bottom of belly and down the legs a little.
    3. Creamy Ivory - very very light dry-brush just to make the belly pop.

  • Toenails:
    1. Stained Ivory - basecoat
    2. Creamy Ivory- brush over top and catch the ridges of the nails.
    3. Sepia wash - just where the nail meets the skin.

Tuesday, June 7, 2011

What a Way to Start the Summer

So, I'm done with teaching for the summer and resumed painting with Bob as of today.  Most people think of summer vacation as the beach.  I think of it as miniature painting.  Not a bad way to spend one's summer vacation but perhaps not what I was hoping for.
Today started with a few loads of laundry that I've been putting off and a hodgepodge of miniatures that Bob has been setting aside for me to paint; dinosaurs and monsters.  I was jamming-out to some U2, The Church, and Pete Yorn.  Hodgepodge of miniatures, hodgepodge of music.
Well, let me show you what I've accomplished so far...
 Hard to tell what these babies are with their black primer.  We've got a Brontosaurus, T-Rex, a giant octopus, two dinofelis and a Nano T-Rex.  There is also some other kind of weird dinosaur but I'm not sure yet what it is.  I'll figure it out later.
Oh, NO!  A giant octopus!

 This is a primed box of sea dragons and a fantasy sea monster (kinda looks like a prehistoric dolphin with plates).  I really enjoy the casting on the sea dragon.  I plan on painting one sea dragon deep sea blue with hints of green and the other one will probably be more magical, like perhaps emerald green or a majestic blue with a bit of metallic shimmer.

I started off by base-coating the figures.  This time around I photoed the bottle of paint I used.  This is just a straight base-coat, there is no diluting with water. 


50/50 mix of these two colors.


Yep, he's dead.  It's a brontosaurus being eaten by the T-Rex from above.  Really cool set if you ask me.
 Then, I got side-tracked by the octopus.  I couldn't help myself.  I really like octopus and was obsessing over what type I would like to paint.  Compulsion took over from there.  I decided to go with a blue-ringed octopus.


Dry brush on the ocher 11 and then lightly dry brush on the tan 6.  I hit the suction cup part of his tentacles harder with the tan 6.

To get his rings I painted on rings in black.  Then, I went over the rings and around them with Badab Black wash.


Next, I used Cel-Vinyl Blue and painted within the black rings so it looks as if my blue rings have black outlines.

Then, I used Blue 11 to highlight the Blue rings.  May seem like overkill but it gets worse.  <<grin>>


You can see it better from this view, I highlighted the blue/blue 11 rings with Sky Blue from Vallejo.  I needed the rings to look electric.  They need to glow; and they do, more so in person than on film.

Lastly, I painted the water with deep sea blue and highlighted it by altering the color with white a little at a time until finally the tops of the waves are foam in white.  I altered the color probably three times to achieve this effect.


No, you're right.  My blue-ringed octopus doesn't look exactly like the one in the photo at the beginning.  The one in the photo is a little more orangy brown.  I left mine a little more yellow ocher.  I just felt like I enjoyed the yellow and the blue more.  Perhaps I'll change my  mind tomorrow; in that case I'll just wash with ogryn flesh a little in the spaces between the black spots and leave very little yellow.  <<shrug>>  Don't know.
 My octopus is a little more like this one, but I didn't get so neon.  If I had neon paint, I might be able to do it.  Now that I think of it I might go back over some of the yellow ocher with lemon yellow or golden yellow to pump up the neon.  We'll see what I do tomorrow.


Well, that's all.  I had grocery shopping to do and dinner to cook.  Tomorrow will mean finishing out all the other figures that I base-coated this morning.

Friday, June 3, 2011

More Bretonnians

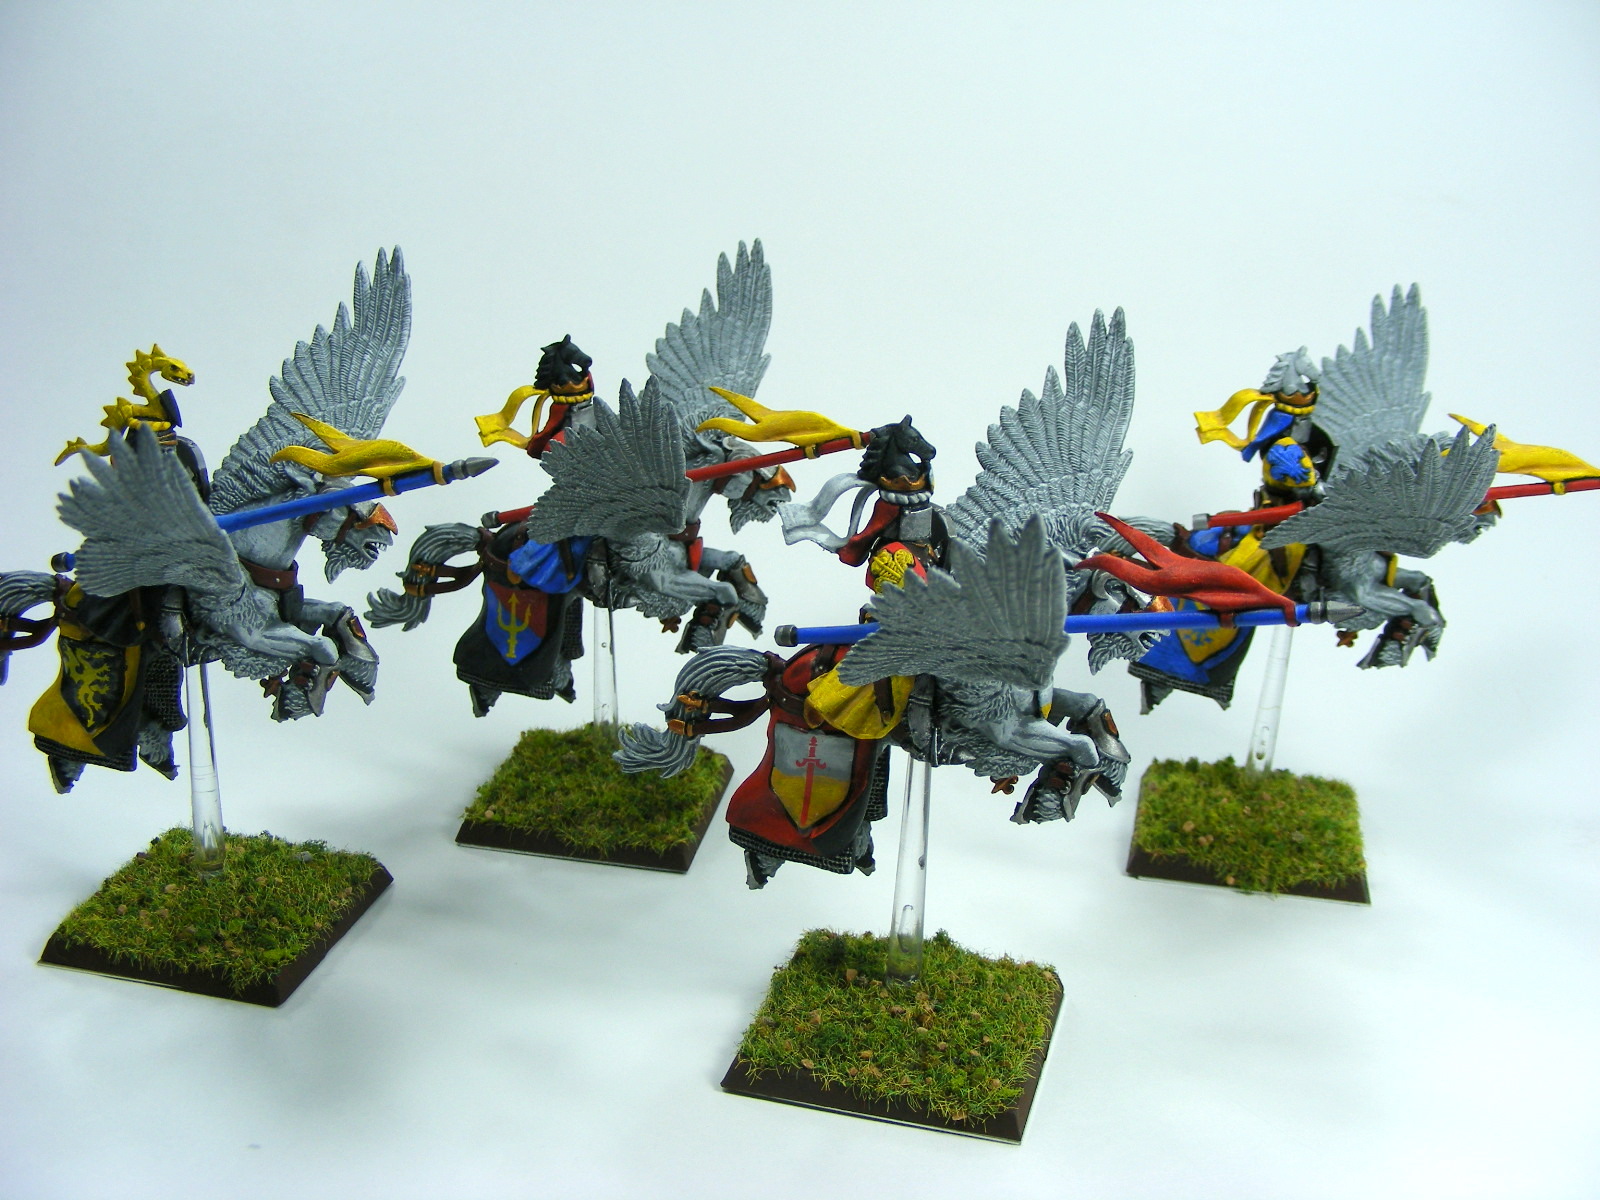
Here is a few more reinforcements for the Bretonnian army we are doing for a customer. Here are the Pegasus Knights:


Here is a Pegasus Knight hero:


A Damsel to give the army a little bit of magic. We will be adding a second Damsel in the next batch:


These are the archer's stakes for the bowmen: