Another commission we completed for a customer. Thsi was a mixed batch of 28's with an AWI unit and some middle ages figures for crusaders in the Holy Land.
The AWI unit are Front Ranks figures and are painted up to represent The Green Mountain Boys. The flag is from the Flag Dude:
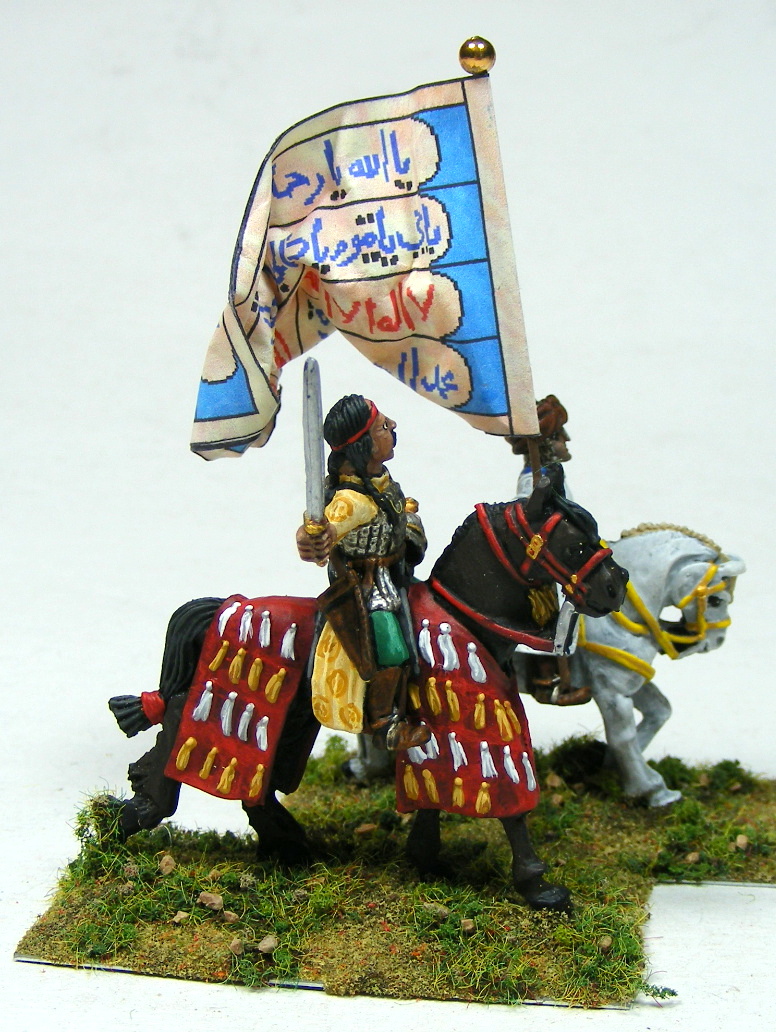
The batch of crusaders also included a general and standard bearer for the customer's Muslim army. I think the figures are Old Glory figures, and the flag is from The Flag Dude:
The customer wanted the foot to be painted up like the troops from Jerusalem from the movie Kingdome of Heaven. This called for a nice toned down blue. The shields were hand painted by Allison:
We are a commission painting service for miniature toy soldiers. You can visit our website at
The copyright of all images of our work is held by Robert Chicka and may not be used without express written permission.
Showing posts with label Old Glory. Show all posts
Wednesday, September 5, 2012
Saturday, April 7, 2012
A Viking Ship and Some Normans
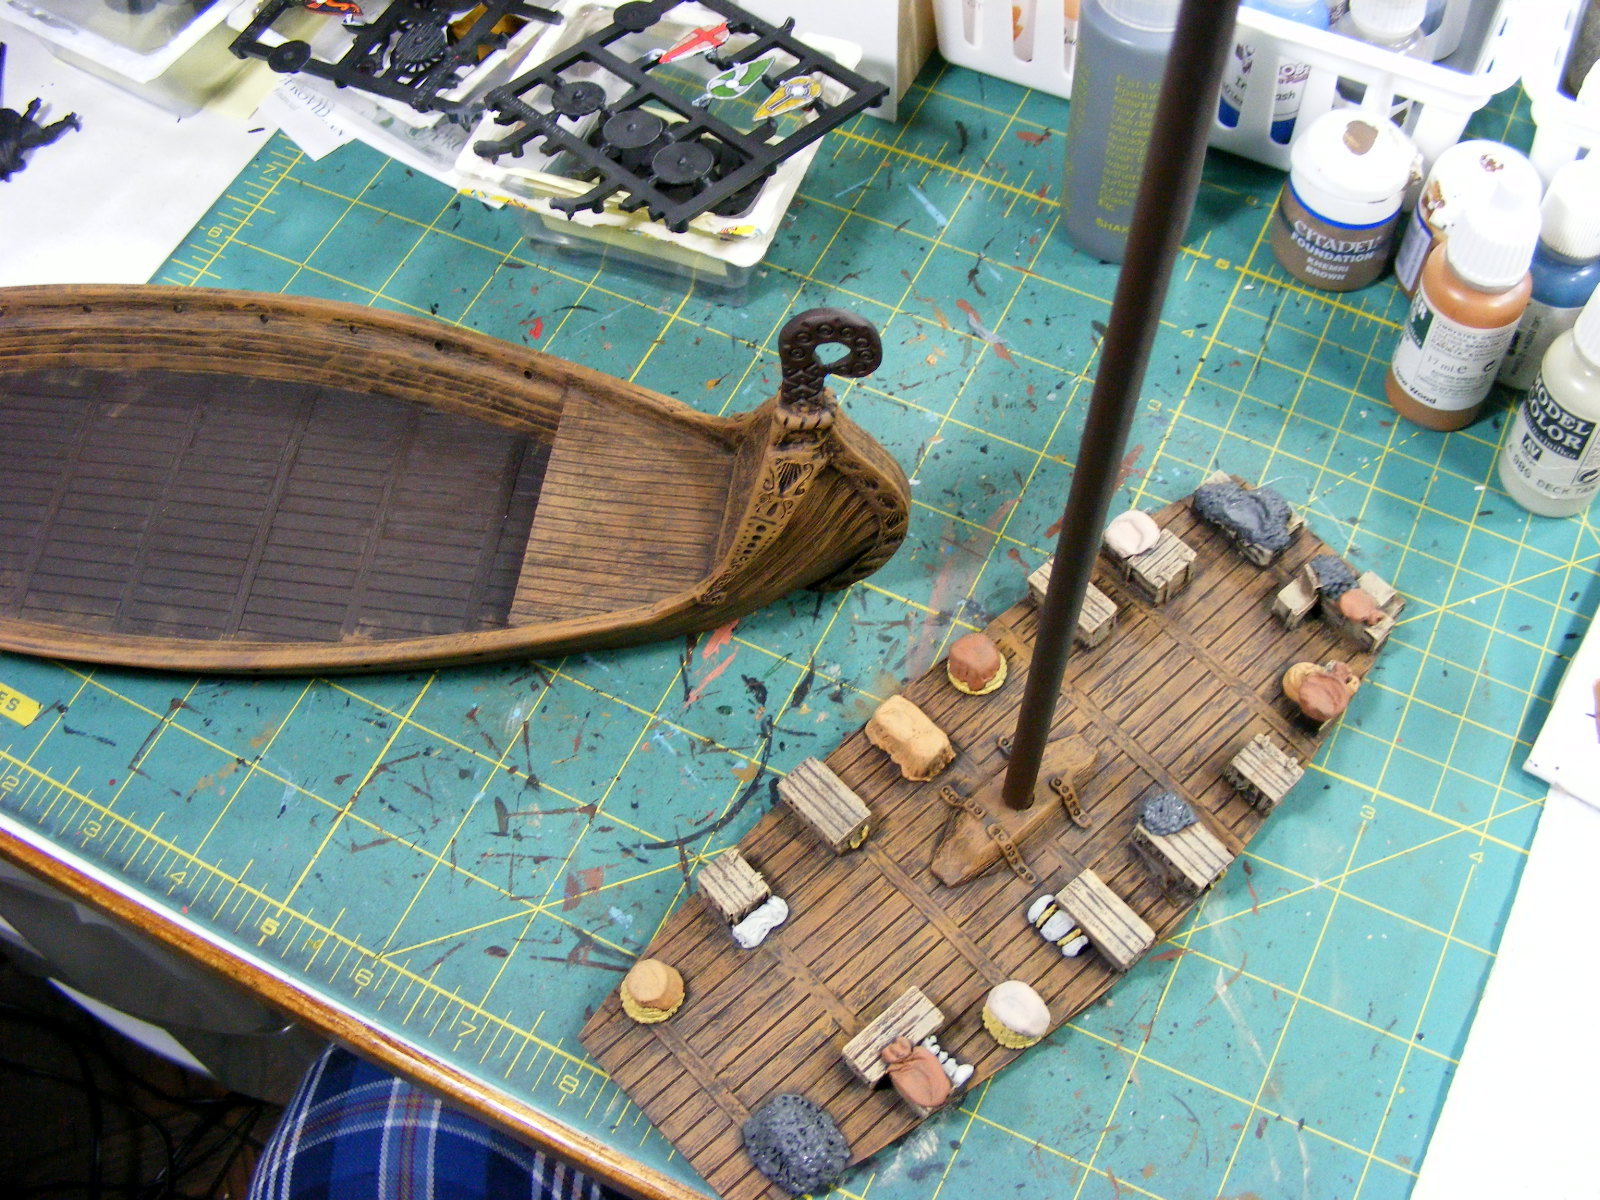
Another recent Cold War delivery was a 28mm Viking ship. The ship model is made by Old Glory. It comes with the ship, the mast, the oars, and the crew. I took some work-in-progress shots to help show that I painted the model in stages then did a final assembly and touch-up.
Here are a couple of shots of the hull and the deck during the painting:
Nothing unusual here. Just a variety of lighter browns drybrushed over a dark brown base coat. I then picked out the detail like the items on the deck. For these I used more muted colors, like khakis and tans, since I planned to make the vikings colorful.
Unfortunately, with the show fast upon us, we were severely pushed for time and I wasn't able to take proper pictures of the completed piece. I did manage to snap a few shots while at the show before the customer picked up the model:
The base was simply a piece of MDF. The water is Durham's water putty applied with an artist's spatula. I made the wave effects by dragging the spatula toward me and moving it back and forth in an S pattern, but also while rocking it a bit from side to side. Allison then painted the water colors on.
We also did some display Normans for Architects of War. These were the Conquest Plastics. While I am not normally a fan of plastics I did think these were pretty nice. The detail was fairly sharp and the assembly was easy. I especially liked how the lower arms attached into a socket in the chainmail sleeve. This assembly avoids the seam at the shoulder normally found in plastic kits.
The shields are LMBS decals. Allison and I had to do a bit of work on them to get them to fit properly though. They were a tad bigger than the shields and had a hole in the center of them for a boss on the shield. This meant we had to paint the missing detail of the decal where the hole was. It isn't an easy task trying to match the colors on the decals so if you attempt it be prepared to put some time into the process.
Here are a couple of shots of the hull and the deck during the painting:
Nothing unusual here. Just a variety of lighter browns drybrushed over a dark brown base coat. I then picked out the detail like the items on the deck. For these I used more muted colors, like khakis and tans, since I planned to make the vikings colorful.
Unfortunately, with the show fast upon us, we were severely pushed for time and I wasn't able to take proper pictures of the completed piece. I did manage to snap a few shots while at the show before the customer picked up the model:
The base was simply a piece of MDF. The water is Durham's water putty applied with an artist's spatula. I made the wave effects by dragging the spatula toward me and moving it back and forth in an S pattern, but also while rocking it a bit from side to side. Allison then painted the water colors on.
We also did some display Normans for Architects of War. These were the Conquest Plastics. While I am not normally a fan of plastics I did think these were pretty nice. The detail was fairly sharp and the assembly was easy. I especially liked how the lower arms attached into a socket in the chainmail sleeve. This assembly avoids the seam at the shoulder normally found in plastic kits.
The shields are LMBS decals. Allison and I had to do a bit of work on them to get them to fit properly though. They were a tad bigger than the shields and had a hole in the center of them for a boss on the shield. This meant we had to paint the missing detail of the decal where the hole was. It isn't an easy task trying to match the colors on the decals so if you attempt it be prepared to put some time into the process.
Subscribe to:
Posts (Atom)