Showing posts with label painting. Show all posts

Sunday, April 22, 2012

Call of Cthulhu Miniatures by RAFM Miniatures Inc.

Cthulhu On the Brain

A few weeks ago I mentioned that I would be embarking on an adventure in painting some Call of Cthulhu figures for an order.  And so, a week or so ago, I finished up a portion of that order.  I also endeavored on another project that you will see at the end of the post, lets just say that I must have had Cthulhu on the brain and or failed my sanity check. 

There are a number of good visual sources out that that describe and illustrate these Cthulhu figures, but I had none of those at my disposal.  I know, I should have just read the short stories as I do have the book upstairs and for an English major that seems like the logical thing to do but I really didn't have the time.  There was an internet source that nicely used quotes from the short stories in order to describe the creatures and their habitats...but it seems that the creatures are often described vaguely.  As a writer and educator of English I see the rational on Lovecraft's vagueness - it keeps the reader imagining instead of relying heavily on writer portrayal.  Nice for the reader, not so nice for a painter.  I say not so nice for me because then my imaginings won't match-up with the visions of my purchaser...so the round-about begins, which one of us has the right vision.  Unless I'm told otherwise by the purchaser I rely on various sources, both written and visual, and my own imagination.  As for these figures, I am told by my husband that the client really enjoyed them and is happy with my paint job. 

The following images are from the finished portion of the Call of Cthulhu order:

The next four photos are of Ghouls.  I opted for a pale blue as they are primarily subterranean creatures.  Without much sunlight I presume that they might look like creatures from the deepest depths of the ocean.  The colors used were Pale Sky Blue (Vallejo) with various additions of White.  Their hooves are Black with a highlight of Red Tail Light (Vallejo).


These four photos are the various accoutrements that accompany the figures; random gravestones, sarcophagi, and markers.  Nothing elaborate about them, standard grays.


The cylinder on the far right is the Brain Cylinder that goes with the two Mi-Go figures.

Mi-Go are said to be fungoid, fleshy pink, and crustacean.  Wow, talk about confusing.  I was thinking about most lobsters and shrimp plus I thought about some of the odder fungus out there that have an unusual flesh color almost pink.  So, I went with various shades of Vermillion (CelVinyl) with numerous additions of White and made their fleshy brain-like heads more pale pink than their crustacean carapace.  The tentacles are actually the same color as the head with the addition of Levathian Purple wash (GW) which I bled up into the underside of the convulsions of the brain/head.  If you look closely at the wings, the spines are black but I surrounded them in the purple wash so that they related back to the head.
The guy in the trench coat is actually another Ghoul.

Deep, aquatic, often pale green or pale blue with white bellies...has to be the Deep Ones.  These fish-like, frog-like creatures were interesting to paint.  I wanted them to look as if they were, again, subterranean and saw very little light, but I didn't want them to look too much like the Ghouls.  They are painted with Highlands Moss with a wet brush of Pale Lichen (both from Reaper).  Around the raised scales of some of the Deep Ones is the addition of a wash called Algae.   Their bellies are various stages of diluted Creamy Ivory and White and their eyes are Antique Gold.

Humanoid aberrations these Ghasts and Dimensional Shamblers are kinda creepy.  Many people painted their Ghasts in a dark green with skull white heads which look really cool but I just couldn't picture them that way so I went with a stripped-of-flesh look especially since it appears that they have no lips with which to hide that horrid grin.  The Ghasts are painted in Antique Rose and Porcelain Pink (both of Reaper) with a placed wash of Ogryn Flesh (GW).
With their hanging flesh and exposed bones I felt as if the Dimensional Shamblers needed to resemble rotting, decaying, putrefied flesh.  Ghoul Skin, Moldy Skin and Bloodless Skin from Reaper did an adequate job on the third from the left.  The raised bumps are painted in pinks and washed with purple to mimic boils and pustules.  I also looked up gangrene and skin rot in order to get some of these colors close.  Those are some pretty cool looking pictures of spider bites and infected wounds - just sayin.
Let the madness ensue with The King In Yellow!  Obviously, he's yellow, Ochre 11 (CelVinyl) with a highlight of Yellow 16 (CelVinyl).  His mask is Chainmail and Mithril Silver (GW).  The little fleshy is painted in Golden Flesh and Golden Flesh Highlight from Reaper.

The Proto-Shoggoth was a dilemma.  Originally when I looked at another paint-job of him it appeared as if his hands and feet were tinted blue-green and his flesh was almost human.  The more I looked at the figure the more I realized that those were vines with what appear to be stones and his head is like a seed pod.  "Golly," says I and I was back on track, "he's like a plant golem."  Coolness.  So, he is fleshy, Fair Skin and Fair Highlight (Reaper) with placed Ogryn Flesh wash (GW).  The stones are simply washed with Devlen Mud (GW) and his vines are painted Olive Green (CV) with a highlight of Olive Drab (CV), then finally washed with Deep Olive wash.


Painted in Creamy Ivory and highlighted in White with two washes, one of Baal Red and Algae Green, the Giant Worm protrudes from the ground.  I wanted it to look other-worldy instead of like a typical earthworm.

 
The Shugoran was an interesting piece.  I really wasn't sure where to go with it until I saw a couple online images that showed him with a red protuberance and another that had him with blue skin.  I decided to make the two work together and here is what I came up with.  Sky Blue skin with additions of White, washed in Sapphire wash.  Hands and protuberance are Red (Vallejo), Red (CV), Vermillion (CV) and Orange Yellow (CV). 
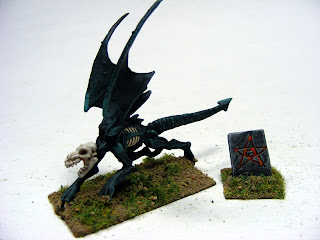
As for the Hunting Horror, well there is an online image that I just couldn't resist.  His body is Bone Shadow and Polished Bone (both of Reaper).  His wings are Red Tail Light (Vallejo), Red (Vallejo) and Red (CV).
Next we have The Hound...

It is initially painted black and then highlighted with Deep Sea from Vallejo and accented in places with Deep Sea lightened with white in various stages.  I wanted it to look as if it was glowing.  The skull head and ribcage are painted Stained Ivory with a Creamy Ivory highlight.
The Yig...well that was easy, paint him like a cobra. 
His body is Brown, Light Brown (both of CV) and washed in Devlan Mud (GW).  The stripes are Badab Black wash.
The cobra design on the back is Black with White.  Simple.  His belly is Ochre 11 with a Creamy Ivory dry brush.
 
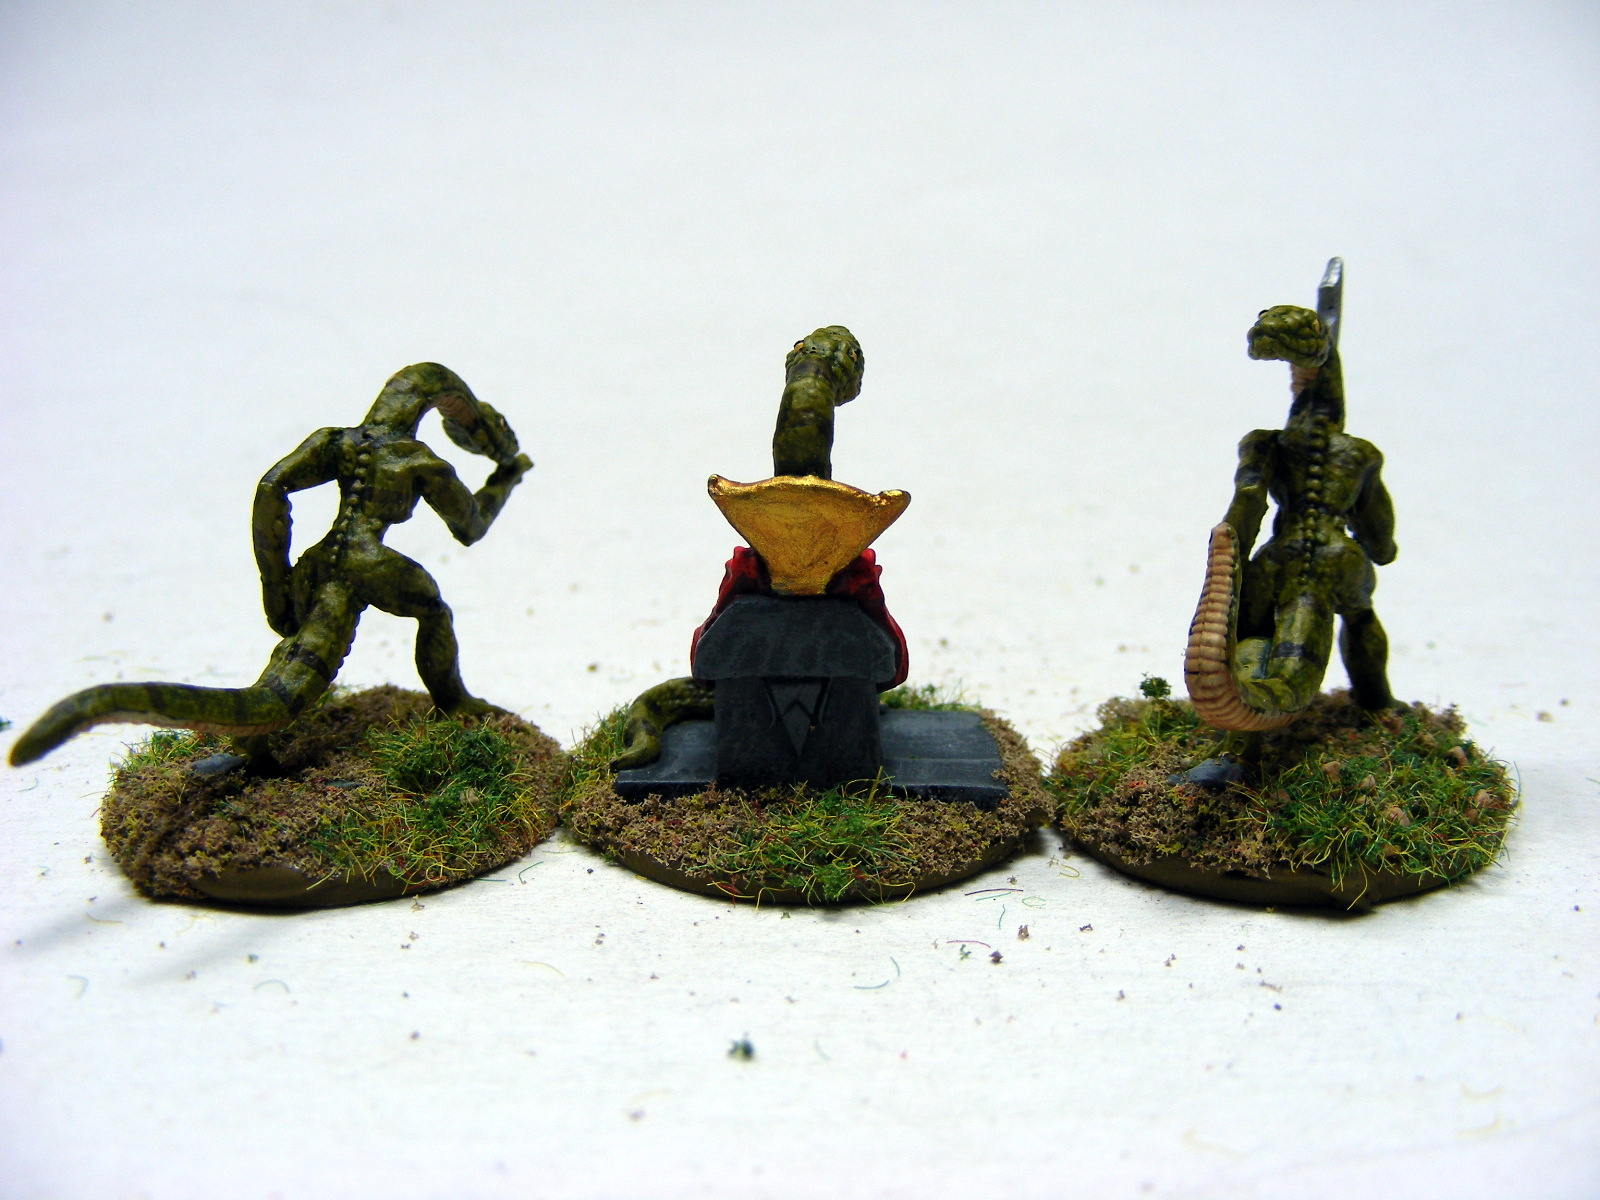
Serpent Men...boy are these figures tiny.  But they are fun to paint.  They are Middlestone from Vallejo with a Deep Olive wash.  Their stripes are Devlan Mud wash and their bellies are Yellow Ochre 11 with a Gryphonne Sepia wash.
 The figure in the center's cloak is Red (Vallejo), Red (CV) and Vermillion (CV).
Being that they're supposed to be cannibalistic tribal peoples, I decided that the Tcho-Tcho would be darker complected.  I wasn't sure about the "hair" that their wearing as the written descriptions of them say they are hairless.  <<shrug>>  So...I assumed that the "hair" is false like a headdress.  I went with the white because it reminded me of ceremonial dressings where they adorn themselves with white clay. 

Bob said he wants a Great Race of Yith for our backyard to scare away the kids.  With my skills in welding I think I might be able to pull off a pretty large statue. 
I took my inspiration from a few written descriptions as well as images from the web.  His body is primarily Ochre 11 with a Creamy Ivory dry brush, washed with Burnt Umber wash.  The claws are Sunflesh (CV) highlighted in Orange Yellow (CV) and the dots are Vermillion (CV) with Baal Red wash.  Up front, the flower shaped bell is Red with Vermillion highlight and washed in Baal Red.  His head is Green (CV) with a highlight of Lemon Yellow (CV).  You may notice that each part blends into the limb.  That was just a matter of running the part color down a little and then dry brushing the body/limb color, Ochre 11, on top of it and washing with the Burnt Umber wash.
As Sand Dwellers I assumed they were kinda sand colored...therefore they are painted with Sand Yellow and washed in Gryphonne Sepia or Burnt Umber wash...I can't remember which.

Lastly are these little doo-dads....yep...
 

Cthulhu On the Brain 

or How I Failed My Sanity Check... 


No, not really, I just wanted to make a Cthulhu cap...I saw photos of one online but never saw directions.  I figured, "How hard could it be?"  Well, it isn't really.  This one is now in the care of a young friend of mine who adores hats of all kinds, I'm sure she is proudly wearing it as I type.  I made another Cthulhu Cap this morning before painting some Blood Bowl Dwarves...Oh but that is another adventure for another time. ;-)
With Love, Allison Chicka

Sunday, September 18, 2011

Along Came a Spider Part 2 - GW Arachnarok Spider

So the other day I posted what was the beginning of this adventure to slay the beast that is Arachnarok.  Okay, so maybe it's not an adventure and maybe I'm not actually slaying anything, but lately it feels like it.  Onward and upward, or at least forward, perhaps downward, maybe sideways - at least not backwards.

I'm making progress but it is slow going due to all the legs getting in the way, and I finally did break off one of the scaffolding parts like I thought I would.  I warned you, be careful.  Even I, who was ever cautious, managed to bust off a piece.  Bob didn't find it amusing.

Now here's some more of my progress...however, I'm not finished yet.

At last post, the carapace was done.  I was working on highlighting the abdomen, painting the rigging, and beginning the legs.

The Abdomen
Paints Used:
When I mix paints I usually make up a card, like this one, to remind me how the colors I made are supposed to appear.  So now you see the transition between the original Hormagaunt Purple with the mixture of Creamy Ivory.

Process/Techniques:
Last post I had only base-coated and applied the first highlight.  This time I went back and added the final highlight by using a mixture of the Hormagaunt Purple and Creamy Ivory.  I can't give you a percentage per say but I can say that it is mostly Creamy Ivory with a touch of Hormagaunt Purple.  If you go to mix it you will find that the purple is very strong and it takes very little to make the ivory purplish.  I'd say a 2:1 ratio of Ivory to Purple, almost a 3:1.
Basic application is a pseudo-Dallimore method over the other, middle, highlight.  Only this time you can create additional creases and separate some of the bulbous folds into smaller bulbs.  For example, check out near the back two stingers in the picture below.  All those little lines provide depth and create the creases or folds. 

Spider Babies and Egg Sacks
Paints Used:
Spider Babies
Egg Sacks


Process/Techniques:
The Spider Babies will eventually look just like their mama.  So far I've painted them solid Model Color Red and washed them with Badab Black.  Eventually they will be detailed with Red and Orange Yellow; however, not so detailed as their mother.
As for the Egg Sacks, I wanted them to stand out a little from the creamy purple abdomen.  At first I thought I wanted a sickly green, almost nasal infection green.  Yeah, you know which green I mean.  However, after careful consideration I felt that that would look a bit off so I chose a more muted sickly green with the Undead Triad from Reaper Master Series.  The egg sacks are simply painted with the base color of Ghoul Skin, highlighted with Moldy Skin, and a final dot of Bloodless Skin.  They will probably be glossed in the final product to give them a wet appearance, as if they are about to burst.


Webs
Paints Used:

Process/Techniques:
So far, only the base color has been applied to the webs and they will be washed with Devlan Mud in order to bring out all the tiny strands.  After that I will either dry-brush or carefully paint each strand with Polished Bone.  I'm sure I'll be holding my breath a lot for that one.


Scaffold
Paints Used:

Process/Techniques:
I simply painted the scaffolding with the Wood Gray and then dry-brushed on a highlight of Grayed Orange Yellow.  The "cut" ends of the scaffold that appear to be spear-like are painted Grayed Orange Yellow and will eventually be detailed in Stained Ivory and Creamy Ivory.  I'll show more of that when I finally do it, which won't be until the end. The log at the back of the spider is colored exactly the same way as the scaffold.

Next up: Along Came a Spider Part 3 - finish the scaffold, the log, the legs, and begin the horns/spines.
BTW - I'm waiting on doing those spines/horns because they are good gripping points for my fingers.